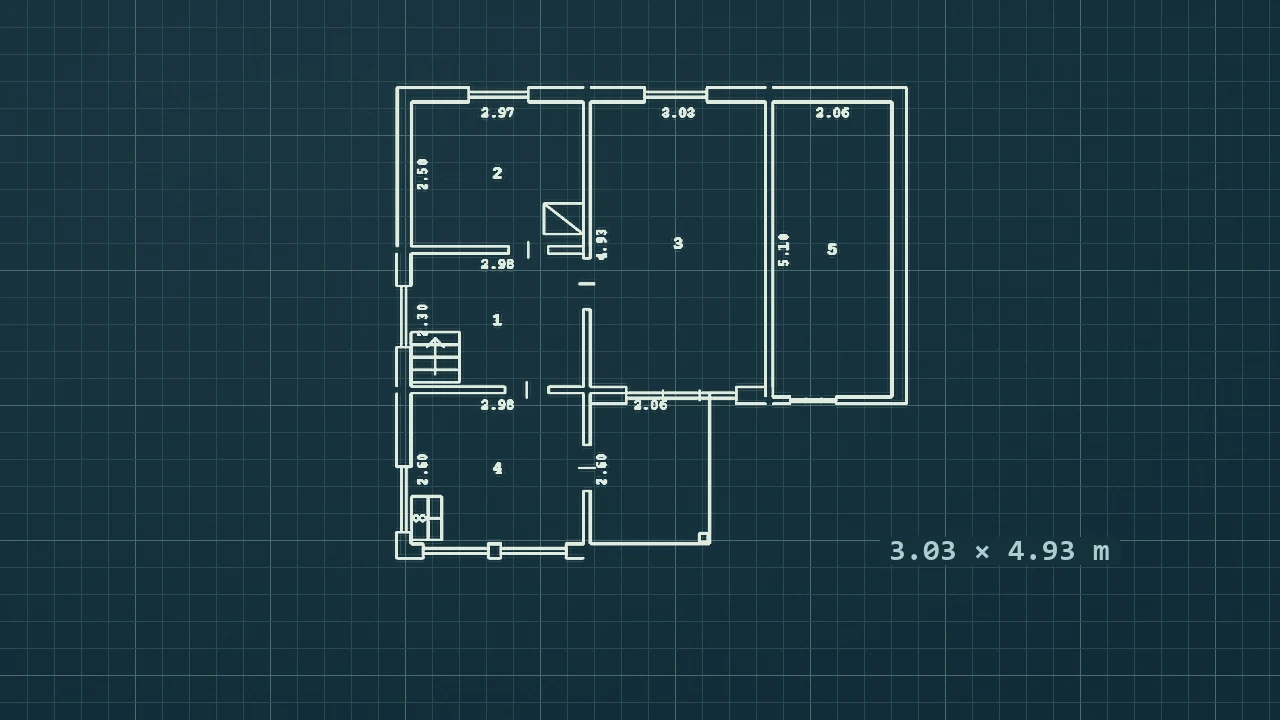
Capture the clearances that affect the layout
Mark internal finished faces, recesses, fixed fittings and the way each door swings. Measure along the selected wall from a named corner to the opening. Leave enough separate notes to establish sill and ceiling heights when those affect the fitting or joinery design.
The sample studio measures 4.20 × 3.60 m between walls, with 15.12 m² of clear floor area. Its 1.50 m window starts 1.35 m from the reference corner. Open the example and compare those numbers with the window position and width.
Put the same starting plan in front of the team
Generate the current layout before exploring proposals. Use the PDF for annotated reviews and send a millimetre DXF to a colleague preparing the CAD design. Before ordering a fitted item, verify the relevant clearances on site for its intended position.
The share link shows the plan and measured dimensions. Collaborators can open their own editable copy. Use an example or a plan you have permission to make public.
Sources
Related guides
- How to photograph a field sketch for a floor planCapture a legible measured sketch, organise multi-page PDFs by floor and check the digital plan against your site measurements.
- How to measure diagonals for an irregular roomRecreate an angled room from its measured edges and diagonal. Follow a reproducible 18 m² quadrilateral and learn to diagnose an inconsistent dimension.