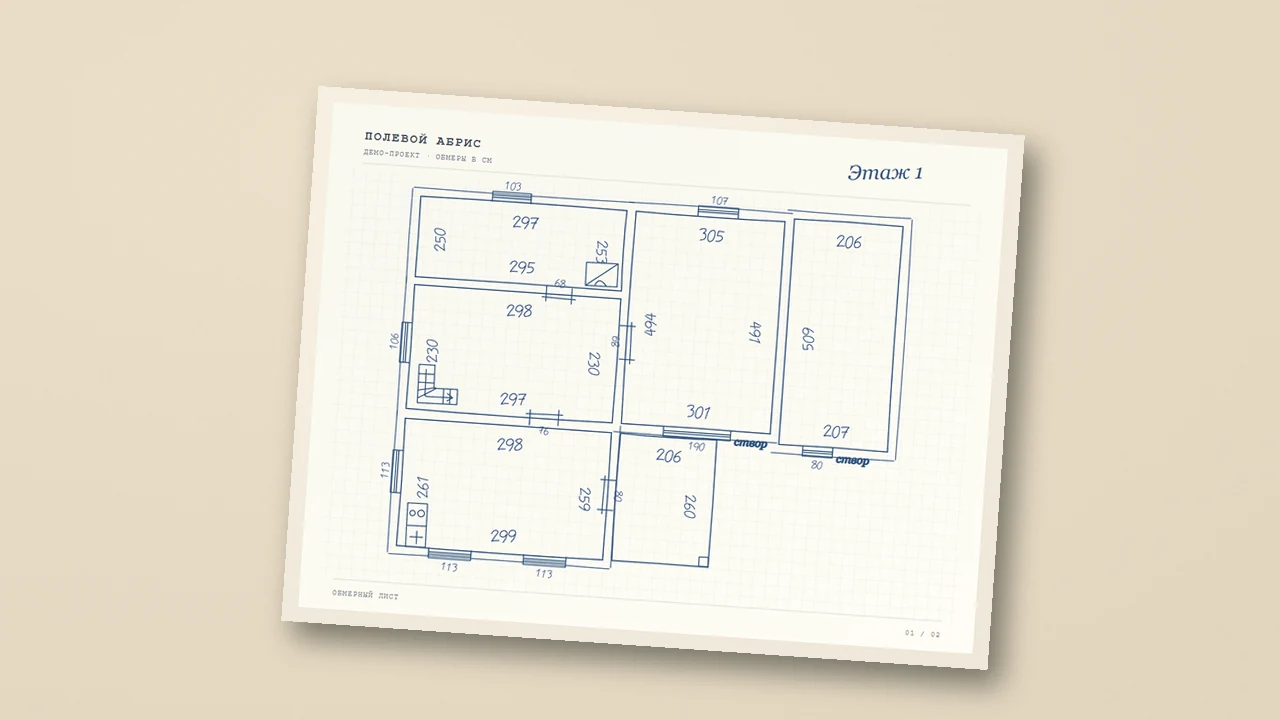
Capture the whole sheet
Lay the sheet on an even surface and use diffuse light. Look at the screen corners before you shoot. All four corners should be visible, with space around long dimension chains and floor notes. Move the phone back if an edge is clipped. Tap to focus on the smallest dimension label and check the result at full size.
A camera tilted towards one edge makes that end of the sheet appear larger. Perspective correction can straighten a flat page when its corners are available. Flatten a fold before making the photograph, and reshoot if pen marks disappear into glare or shadow.
- Keep the phone parallel to the page and turn off flash if it creates a bright patch.
- Take a second close-up for a faint or densely annotated corner. Keep the full page as the primary source so the reference points stay visible.
- Check that measurements, door swings and line ends are distinguishable before leaving the site.
Make the floor and units visible
Use a distinct floor number on each sheet and order PDF pages by floor. If the same floor spans several pages, repeat its floor number and label a shared reference such as the stair or corridor. Check the proposed floor assignments after import, especially when a PDF includes a detail sheet or a title page.
Show the recording unit on the sheet. If your notebook records a distance as 2.97 m or 2970 mm, enter 297 in a centimetre field. Assign numbers to their actual endpoints so an overall span and a segment cannot be mistaken for one another.
Check the traced plan after import
Import a JPG, PNG, TIFF or PDF in the editor. Use the sketch view and its backdrop opacity control to compare the proposed rooms and openings with the original. Select a room or wall to correct the dimensions. Resolve an unreadable value from your measurement log or return to the site record.
Before you generate the drawing, check one long control dimension and one opening offset on every floor. An overall room width can be correct while a window is positioned on the wrong section of the wall. Switch to the drawing view to check the final placement and room outlines.
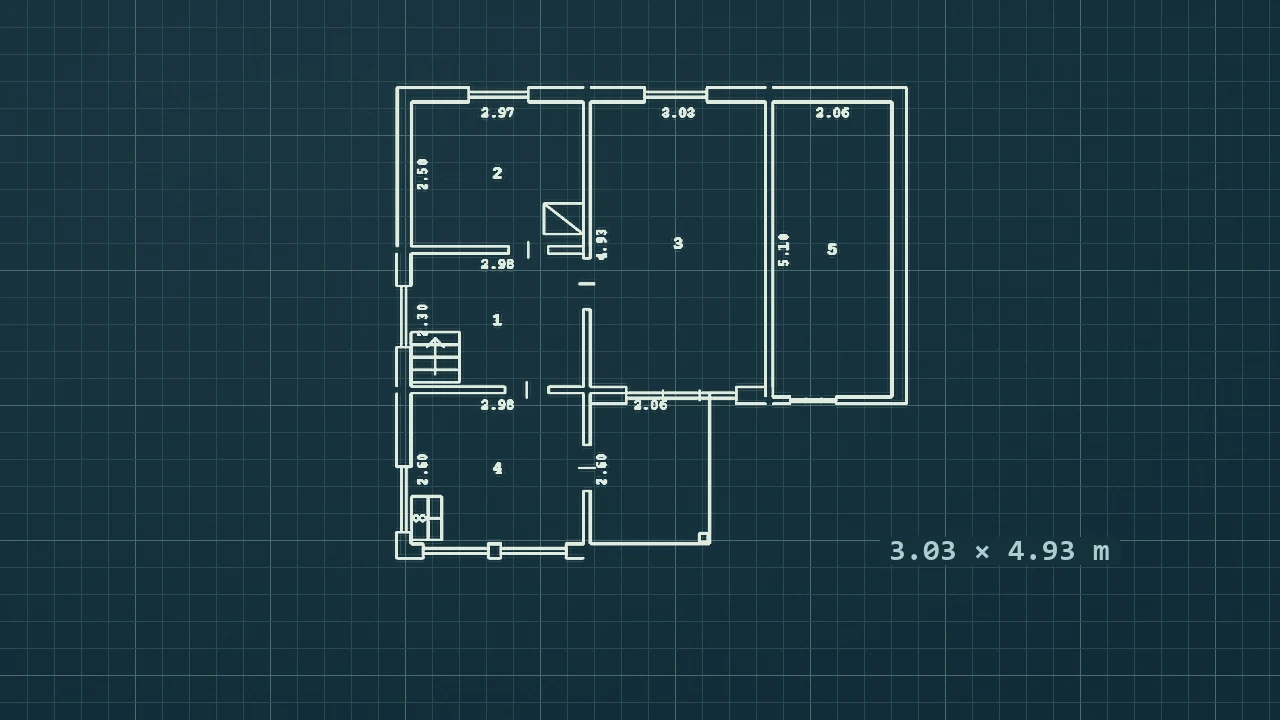
Watch the walkthrough
Turn a measured field sketch into a floor planQuestions and answers
Must the paper sketch be drawn to scale?
A field sketch can be approximate. Draw the wall connections and openings clearly, and record the measured distances so they can be entered in the editor.
Can I upload a PDF with several floors?
Yes. Label each sheet and review the floor list after importing the PDF. Verify which drawing and which measurements belong to each level.
Sources
Related guides
- Building measurement checklist for an existing floor planRecord wall lengths, opening positions, recesses and independent checks before you turn a measured survey into an existing floor plan.
- How to verify handwritten dimensions before exporting a floor planAttach each handwritten measurement to the right edge, catch transposed digits and use independent measurements to verify on-site values.